
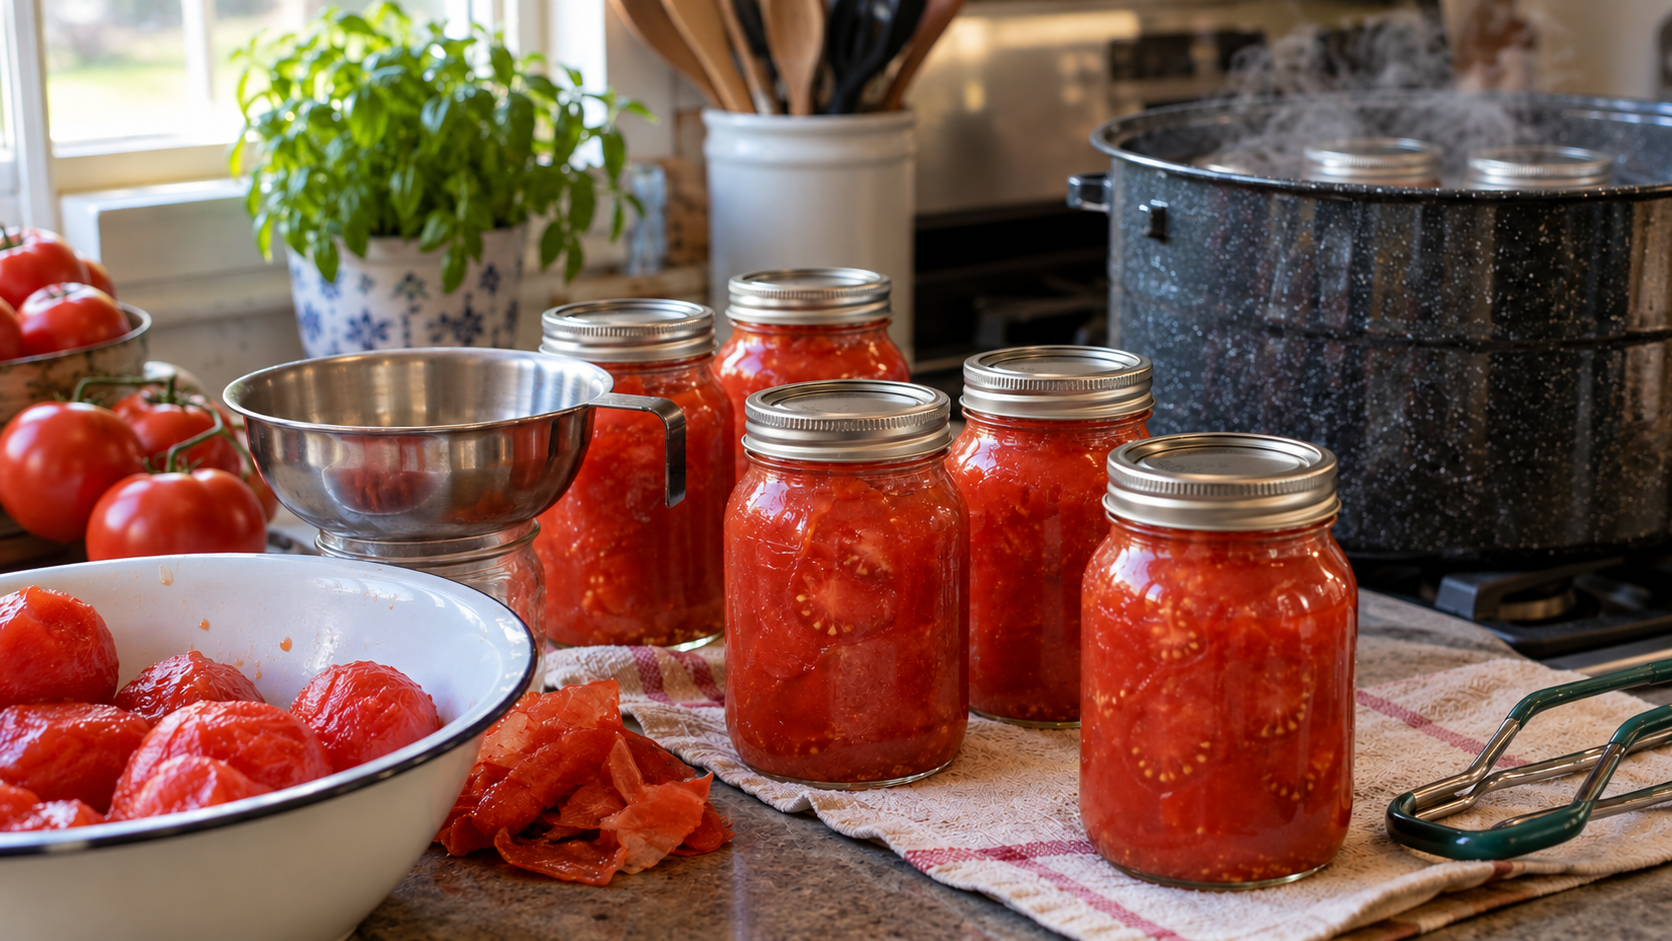
Water Bath Canning Tomatoes: Step-by-Step Guide
I learned to can tomatoes the old-fashioned way: hot tomatoes into hot jars, lids and rings on, jars lined up on the counter, and then everybody waits for that glorious little POP.
That was it.
No water bath. No processing timer. No debating pH levels while standing in a kitchen covered in tomato juice.
And honestly, that method worked for generations in my family.
But after digging into the current recommendations for water bath canning tomatoes, tomato acidity, processing times and why open-kettle canning is no longer recommended, I decided to change the ending—not the whole tradition.
I still peel them, core them, cut them into chunks and heat them just like I learned from my mom and aunts.
Now I just give those filled jars one final trip through the boiling-water canner before they go onto the pantry shelf.
👉 Want to skip everything else? Jump to the full water bath canning directions.
Quick answer: How do you water bath can tomatoes?
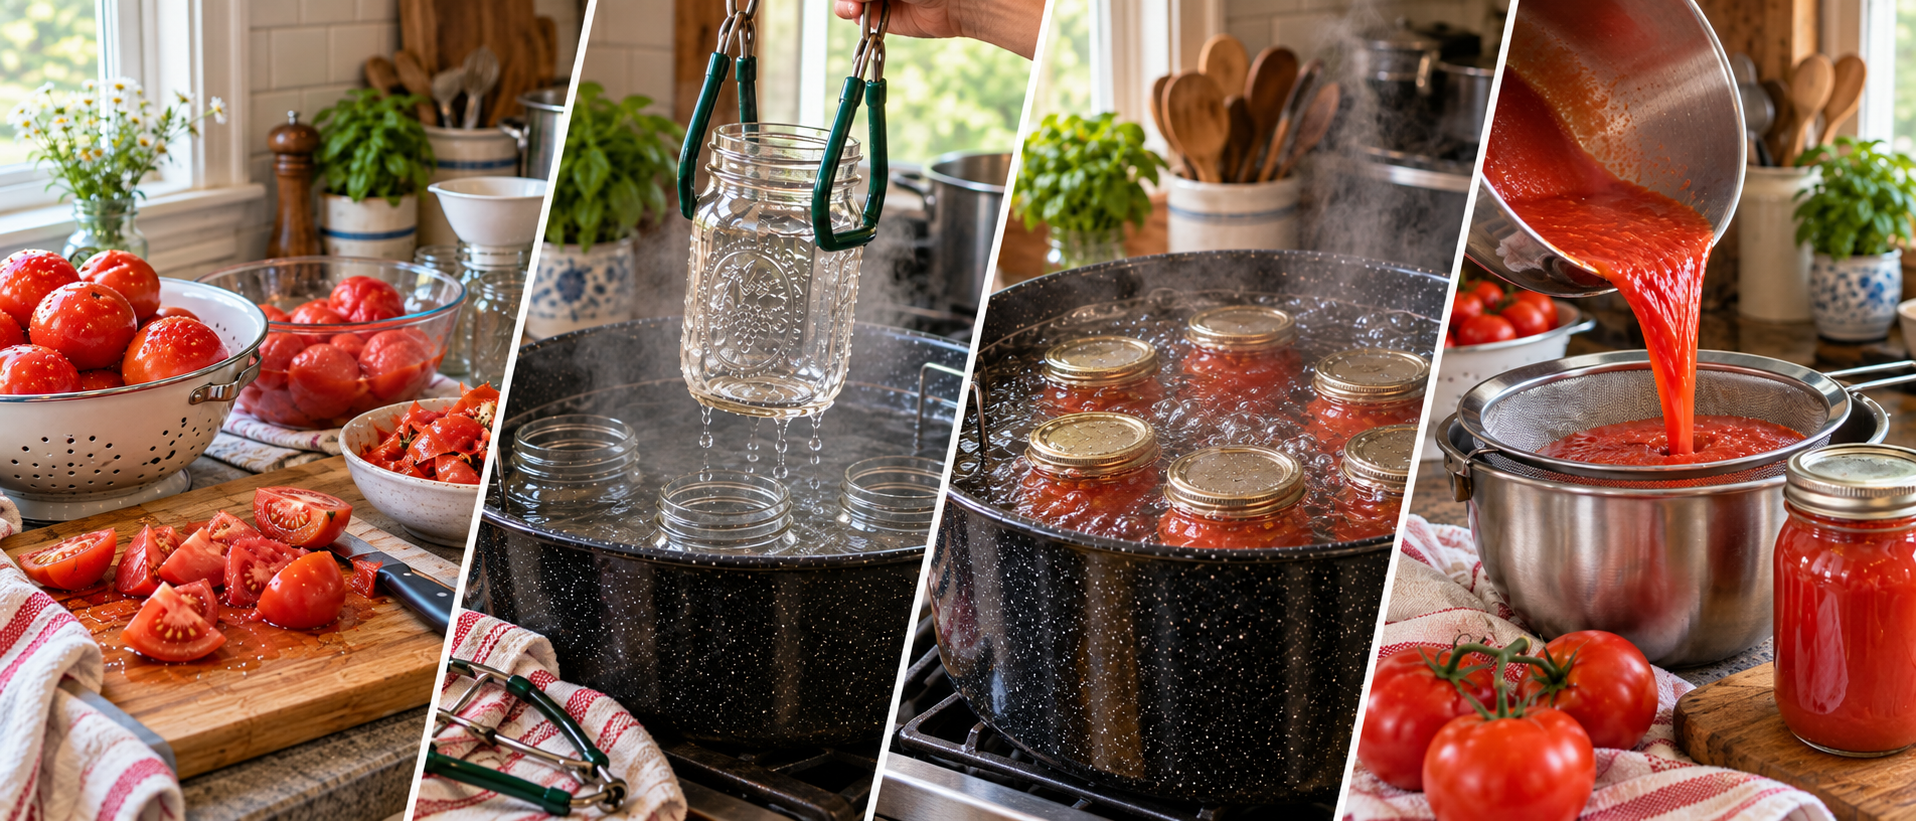
For hot-packed crushed tomatoes in quart jars, the current tested method calls for:
- 2 tablespoons bottled lemon juice OR ½ teaspoon citric acid per quart
- Hot tomatoes packed into hot jars
- ½-inch headspace
- Air bubbles removed before adding the lid
- Jars completely covered with water
- Processing for 45 minutes at 0–1,000 feet
- Longer processing times at higher elevations
The timer starts after all jars are loaded and the canner returns to a full rolling boil.
And yes, different tomato products have different processing times. Raw-packed tomatoes, tomato juice, sauce and crushed tomatoes are not all interchangeable.
Quick Reference: Water bath canning tomatoes steps overview
If you just need the expanded quick-skim version (all steps are in detail below “10 Water Bath Canning Steps”):
- Wash tomatoes.
- Dip them in boiling water until skins loosen.
- Peel and core.
- Cut into chunks.
- Heat tomatoes according to the tested hot-pack method.
- Keep jars hot.
- Add 2 Tbsp bottled lemon juice or ½ tsp citric acid per quart.
- Fill jars with hot tomatoes and juice.
- Leave ½-inch headspace.
- Remove air bubbles.
- Wipe rims.
- Add lids and rings finger-tight.
- Place jars into hot water-bath canner.
- Bring the full canner to a rolling boil.
- Process quart jars for 45 minutes at 0–1,000 feet, adjusting for elevation.
- Turn off heat and wait 5 minutes.
- Remove jars upright.
- Cool untouched for 12–24 hours.
- Check seals, remove rings, label and store.
👉 Jump to the full step-by-step directions below.
Why did I change the way I can tomatoes?
The biggest thing I learned is that:
A sealed jar is not necessarily the same thing as a safely processed jar.
Open-kettle canning relies on extremely hot food being placed into hot jars and the cooling contents creating a vacuum seal.
That little POP tells you the lid sealed.
It does not tell you that the food inside received a tested amount of heat after the jar was closed.
Water-bath canning adds that final controlled processing step.
So I still get my POP.
I just make the jars work a little harder for it now.
Grandma taught us the skill. We now have a little more info to update the process.
But didn’t our grandmas can tomatoes this way for decades?
Absolutely.
Mine did too.
And I don’t think that means Grandma was doing something foolish.
She was working with the tomatoes, jars, equipment and food-safety knowledge available to her at the time.
Today we know more about:
- Botulism
- Tomato acidity
- Heat penetration
- Food density
- Jar size
- Processing times
- How microorganisms behave inside sealed jars
So to me, this isn’t really Grandma was wrong.
It’s more: Grandma taught us the skill. We now have a little more information to add to it.
Are today’s tomatoes different from Grandma’s tomatoes?
This is where things get interesting.
The tomatoes we grow and buy today are not necessarily identical to what our grandmothers were growing 75 or 100 years ago.
We have:
- Different varieties
- Hybrid tomatoes
- Different soil conditions
- Modern fertilizers
- Different irrigation systems
- Commercial growing practices
- Modern pesticides and pest-control methods
- Tomatoes bred for shipping, storage, disease resistance, size and appearance
So yes—the food and the tools we work with have changed.
Our jars, lids, stovetops and canning equipment have changed too.
But the explanation isn’t as simple as saying:
“Old tomatoes were acidic and modern tomatoes aren’t.”
Tomatoes have always varied in acidity.
Some naturally fall below pH 4.6.
Some may not.
Variety, ripeness and growing conditions can all affect acidity.
That’s why today’s canning recommendations take the guessing out of it and tell us to acidify every jar.
For quart jars:
- 2 tablespoons lemon juice (fresh or bottled)
- or ½ teaspoon citric acid
For pint jars:
- 1 tablespoon lemon juice (fresh or bottled)
- or 1/4 teaspoon citric acid
Simple enough.
No chemistry degree required.
What about other countries that still preserve tomatoes the old-fashioned way?
Traditional tomato preserving is still common in Italy, Eastern Europe, Latin America and many other places.
And some of those methods look very different from an American Ball jar sitting in a water-bath canner.
But here’s the important distinction:
The USDA is an American agency. Bacteria are international.
Other countries have their own food-safety recommendations, equipment, traditions and processing methods.
A quick video of an Italian family preserving tomato sauce may not show:
- How acidic the recipe is
- How long it was heated
- Whether bottles were boiled afterward
- What type of container was used
- How it is stored
- Whether the method matches that country’s official recommendation
And sometimes people everywhere keep doing things because:
“That’s how my mother did it.”
Apparently that sentence works in every language.
Water Bath Canning Tomatoes
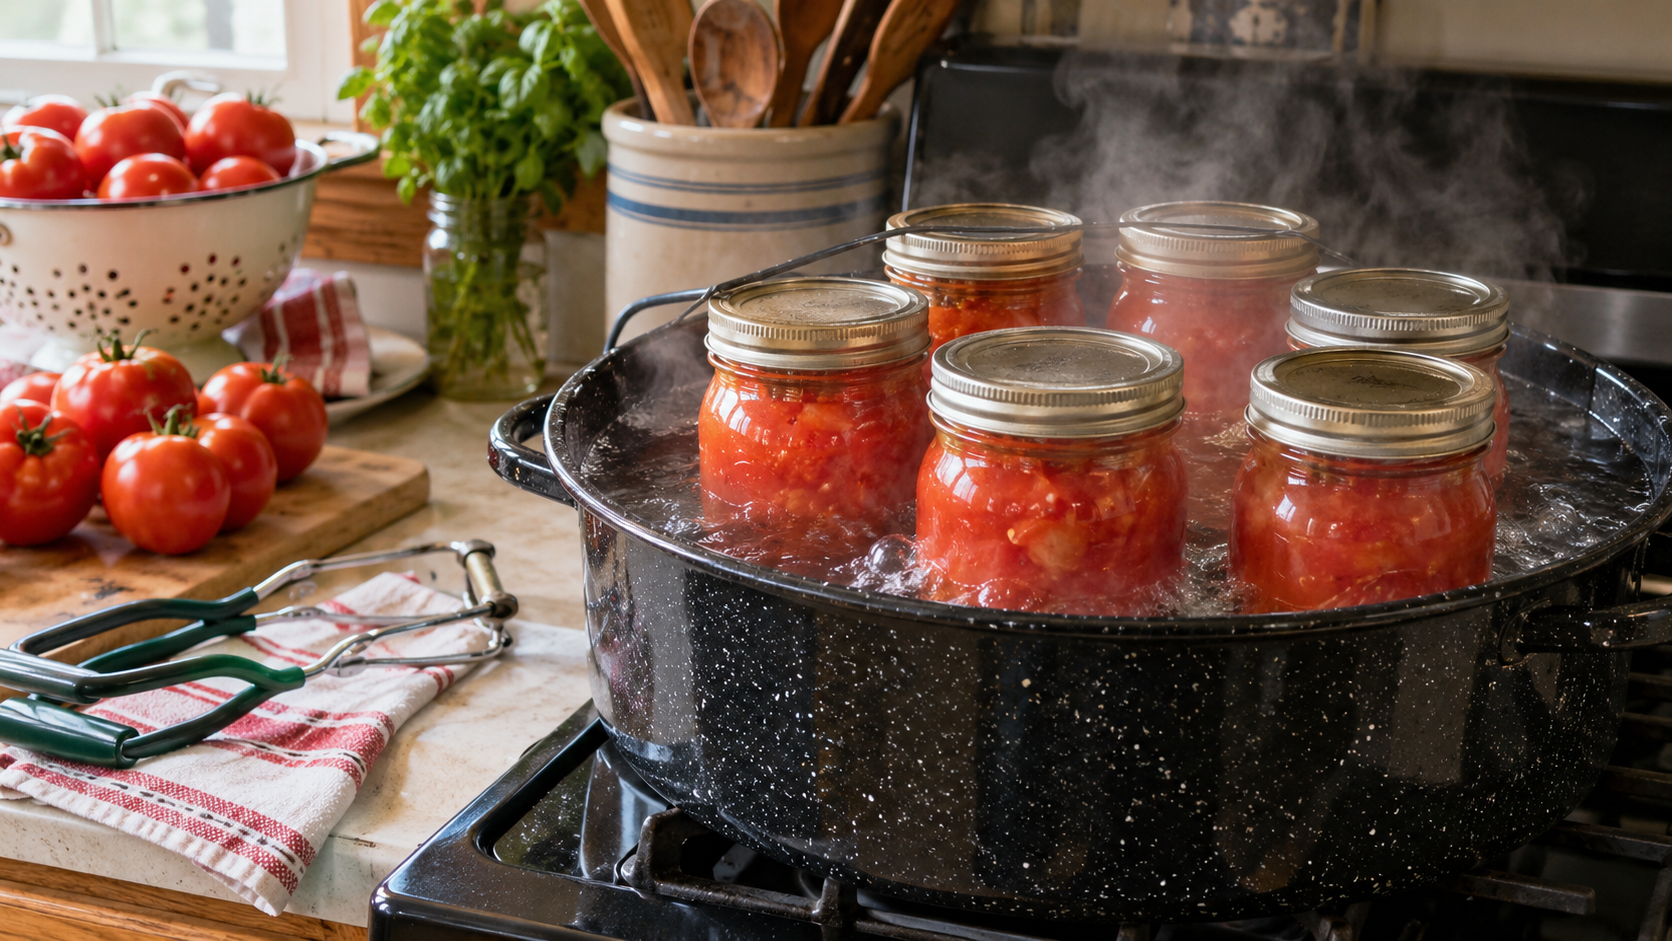
How many tomatoes do I need for 7 quart jars?
For approximately 7 quarts of hot-packed crushed tomatoes, plan on about 22 pounds of fresh tomatoes.
Your actual yield will depend on:
- Tomato variety
- How juicy they are
- How much trimming is needed
- How much pulp versus liquid they contain
Personally, I’d rather have three tomatoes left over than discover I’m half a jar short after turning my kitchen into a tomato processing facility.
What you’ll need
For water bath canning tomatoes, gather:
- Fresh ripe tomatoes
- Quart or pint canning jars
- New canning lids
- Canning rings
- Bottled lemon juice or citric acid
- Canning salt, optional
- Large stockpot or kettle
- Boiling-water canner
- Canning rack
- Jar lifter
- Canning funnel
- Bubble-removing/headspace tool
- Clean towels
👉 Using a pressure canner?
If it’s deep enough to hold your jars on a rack with the proper amount of water over them, it can also be used as the pot for boiling-water canning.
You’re simply using it as a large water-bath canner—not pressurizing it.
10 Water Bath Canning Steps
Here are the 10 steps I use for water bath canning hot-packed tomatoes using our family old fashion style grandma way for the most part except instead of just letting them sit out to pop I’ve updated and add the acid (lemon juice) and securing a verified method a sealing in the water bath.
- Step 1: Prepare the canner
- Step 2: Wash and keep the jars hot
- Step 3: Peel and core the tomatoes
- Step 4: Heat the tomatoes
- Step 5: Add lemon juice or citric acid
- Step 6: Fill the jars
- Step 7: Wipe the rim and add the lid
- Step 8: Load the jars one at a time
- Step 9: Bring the whole canner to a rolling boil
- Step 10: Remove and cool the jars
View all these steps in further detail below.
Step 1: Prepare the canner
Place the canning rack in the bottom of your water-bath canner and begin heating the water.
For hot-packed tomatoes, preheat the water to around 180°F.
Because this recipe processes longer than 30 minutes, you’ll eventually want approximately 2 inches of water above the tops of the jars.
Keep some extra hot water nearby.
It’s much easier than discovering you’re short on water while seven hot jars are staring at you.
Step 2: Wash and keep the jars hot
Wash your canning jars thoroughly.
Because these tomatoes process for more than 10 minutes, the jars do not need to be separately sterilized beforehand.
They should be:
- Clean
- Free from cracks or chips
- Kept hot until you’re ready to fill them
I usually keep mine hot in the dishwasher or in hot water.
Prepare your lids according to the manufacturer’s current instructions.
Modern canning lids don’t automatically need the old-school 10-minute simmer.
Apparently even lids have changed since Grandma’s day.
Step 3: Peel and core the tomatoes
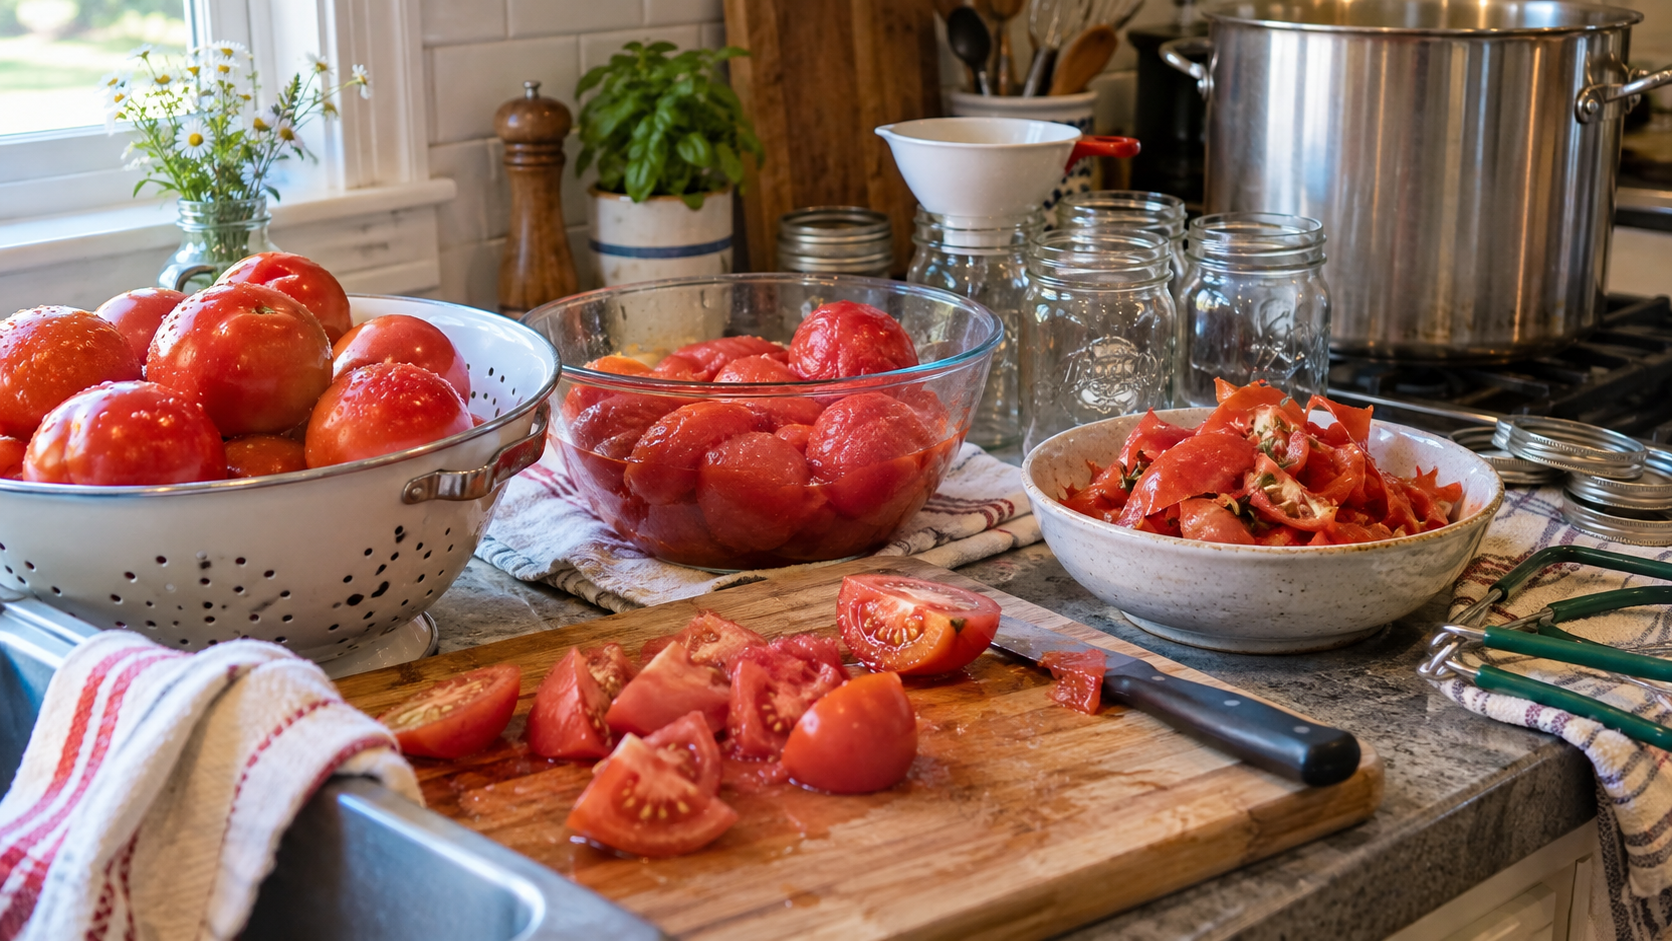
Wash your tomatoes.
Dip them in boiling water for about 30–60 seconds, or until the skins start to loosen or split.
Then cool them enough to handle.
Slip off the skins and remove:
- Cores
- Bruised areas
- Damaged spots
Cut the tomatoes into quarters or chunks.
At our house, one side of the sink becomes the peel-and-core side and the other becomes the tomato side.
Eventually the entire sink becomes tomatoes.
Then the counter joins in.
Step 4: Heat the tomatoes
For the tested hot-pack crushed-tomato method, begin with approximately one-sixth of your prepared tomatoes.
Put them into the pot and heat them quickly while crushing them with a spoon so they release their juice.
Stir frequently so they don’t scorch.
Once that first portion begins boiling, gradually add the remaining tomatoes while continuing to stir.
Once all of the tomatoes are added:
Boil gently for 5 minutes.
You can still have recognizable tomato pieces in the final jar.
We’re making canned tomatoes—not tomato baby food.
Step 5: Remove each jar to process
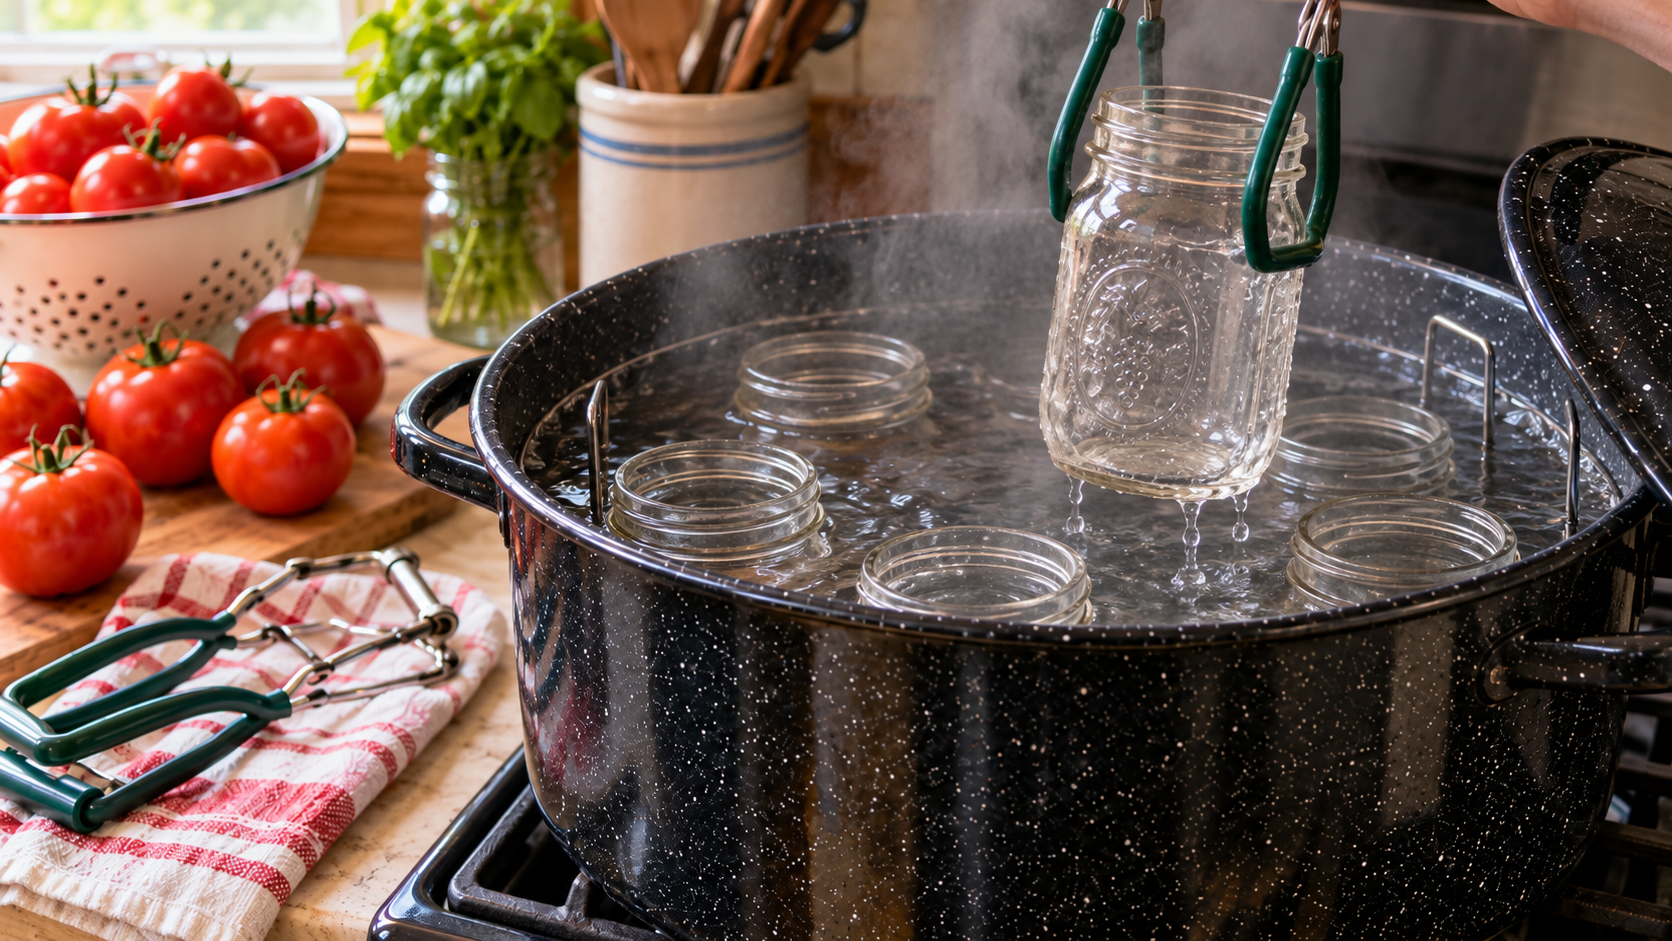 Start by taking out one hot quart jar from the hot water in the kettle.
Put your funnel onto the top of the jar.
Add your acid:
For quart jars:
- 2 tablespoons lemon juice (fresh or bottle)
- ½ teaspoon citric acid
For pint jars:
- 1 tablespoon lemon juice (fresh or bottle)
- 1/4 teaspoon citric acid
You may also add up to: 1 teaspoon canning salt
Salt is optional. The acid is not.
Think of it this way:
- 🍋 Lemon juice = safety
- 🧂 Salt = flavor
Everybody has a job.
Step 6: Fill the jars with tomatoes
Ladle the hot tomatoes and their natural juice into the hot jar.
Leave: ½ inch of headspace at the top.
Then run your bubble-removing tool around the inside of the jar to release trapped air.
Recheck the headspace afterward and adjust if needed.
👉 Don’t forget this step.
I did once.
The jars did not immediately burst into flames, but removing air bubbles is recommended because trapped air can affect headspace and contribute to liquid loss during processing.
Step 7: Wipe the rim and add the lid
Use a clean damp cloth to wipe the rim of the jar.
You don’t want tomato pulp, seeds or juice sitting between the lid and the glass.
Add the lid.
Add the ring.
Tighten it finger-tight.
Not Hulk-tight or: “I need to make sure no human being can ever open this again.”
Finger-tight.
Step 8: Load the jars back into kettle one at a time
Do one at a time……. You don’t need to fill all seven jars before putting any into the canner.
I use my jar clamp to remove one jar from the hot-water-filled canner, fill that one jar, then lid and ring it to close it and then place it back into the hot canner.
Then I fill the next.
So it goes:
- Remove jar from hot canner
- Add lemon juice
- Fill jar
- Add lid and ring
- Put jar back into canner
- Repeat for all jars
At this point, the hot water is simply holding your jars warm.
👉The processing time has NOT started yet.
Step 9: Bring the whole canner to a ROLLING boil
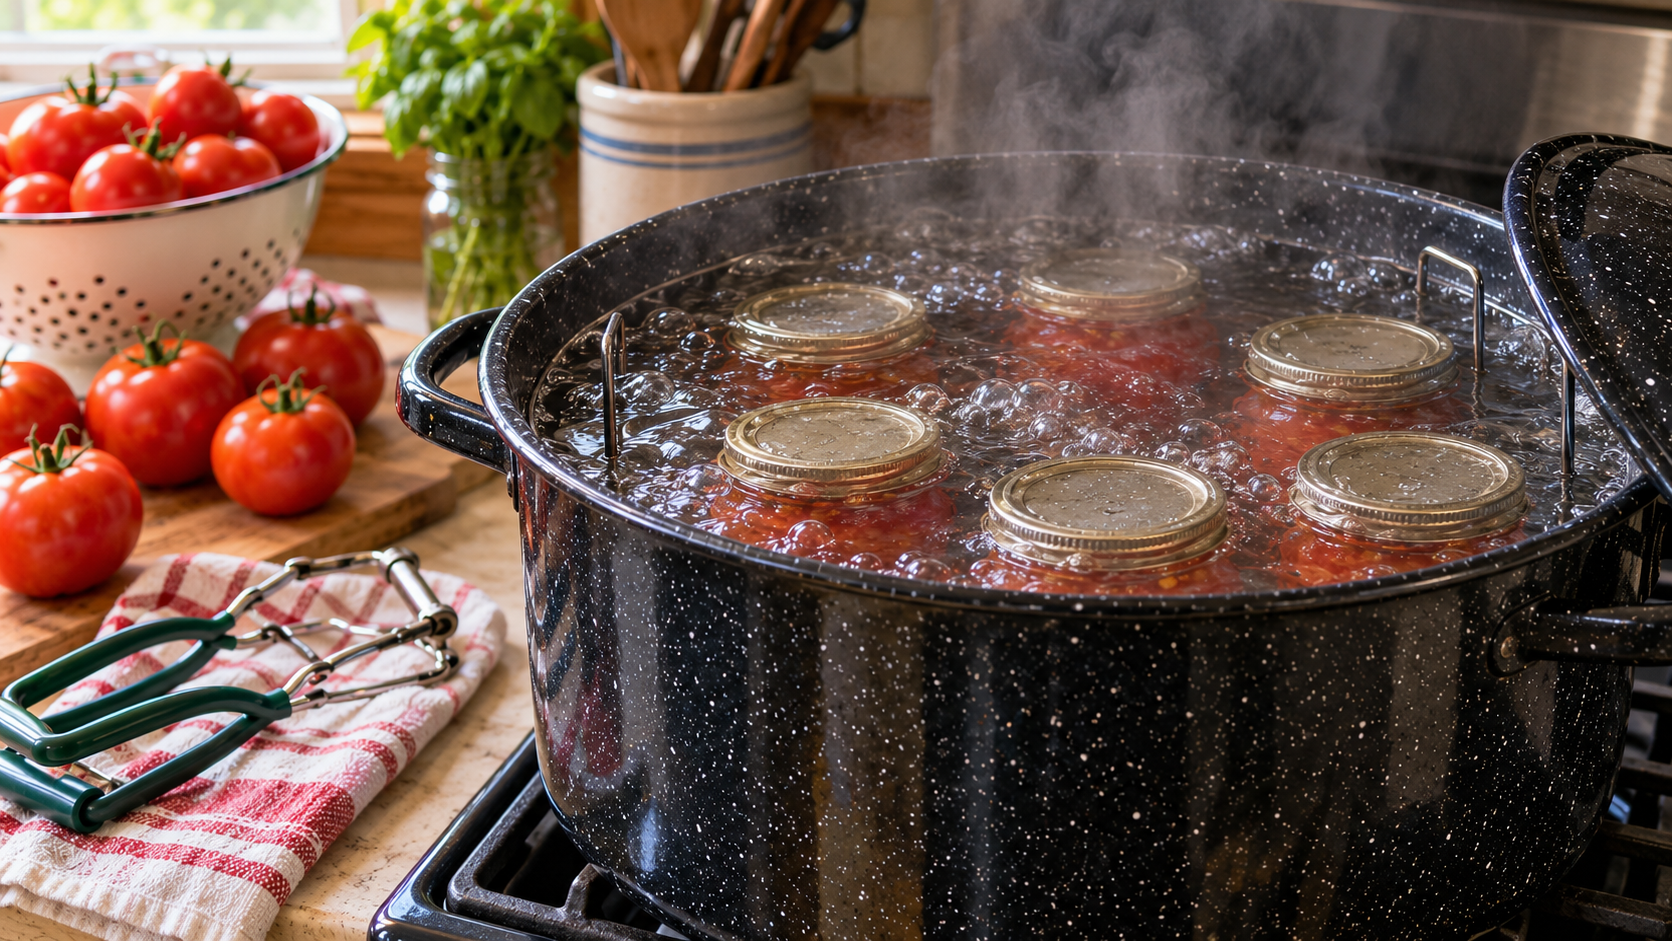
This is where the processing part begins.
- Once all of your jars are loaded, make sure they’re completely submerged under 1-2 inches of water above the jars.
- Cover the canner.
- Bring the entire thing to a vigorous rolling boil.
- 👉 Now start the timer
Not when jar #1 went in.
Not when the water was “basically boiling.”
Not when you remembered to look at the clock.
👉👉👉When the fully loaded canner reaches a full boil.
How long do you water-bath quart jars of tomatoes?
For hot-packed crushed tomatoes in quart jars:
| Elevation | Processing time |
|---|---|
| 0–1,000 feet | 45 minutes |
| 1,001–3,000 feet | 50 minutes |
| 3,001–6,000 feet | 55 minutes |
| Above 6,000 feet | 60 minutes |
This is one reason tomato canning instructions online can look confusing.
You may see someone say tomatoes need 85 minutes. That can also be correct—for a different tested tomato preparation (the cold packed method).
There is no universal: THE TOMATO NUMBER.
Raw-packed tomatoes, whole tomatoes, crushed tomatoes, juice and sauce can all have different schedules.
What if the water stops boiling?
If the water stops boiling during processing:
- Bring it back to a vigorous boil.
- Restart the full processing time.
Yes. From the beginning.
I don’t make the rules.
Which means once my timer starts, I generally stay somewhere near the kitchen instead of deciding that’s a good time to weed the garden.
Step 10: Remove and cool the jars
When the processing time is finished:
- Turn off the heat.
- Carefully remove the canner lid.
- Let the jars sit in the canner for about 5 minutes.
- Remove each jar upright with a jar lifter.
- Place them on a towel or cooling surface.
- Leave them untouched for 12–24 hours.
Do not:
- Tighten the rings
- Push on the lids
- Turn the jars upside down
- Keep picking them up to inspect them
Just leave them alone.
Eventually you’ll hear:
POP.
And then you’ll probably smile.
Because safe canning or not, I’m still emotionally invested in that sound.
How do I know if my canned tomatoes sealed?
After 12–24 hours:
- Remove the rings.
- Check each lid.
- Make sure the center does not flex up and down.
- Wash off any sticky residue.
- Label and date the jars.
- Store sealed jars in a cool, dark, dry place.
If a jar didn’t seal, refrigerate it, freeze it or follow current safe reprocessing guidance.
Do not put it in the pantry and hope it develops a better attitude.
🍅 Bonus: Don’t waste the tomato juice at the bottom of the pot
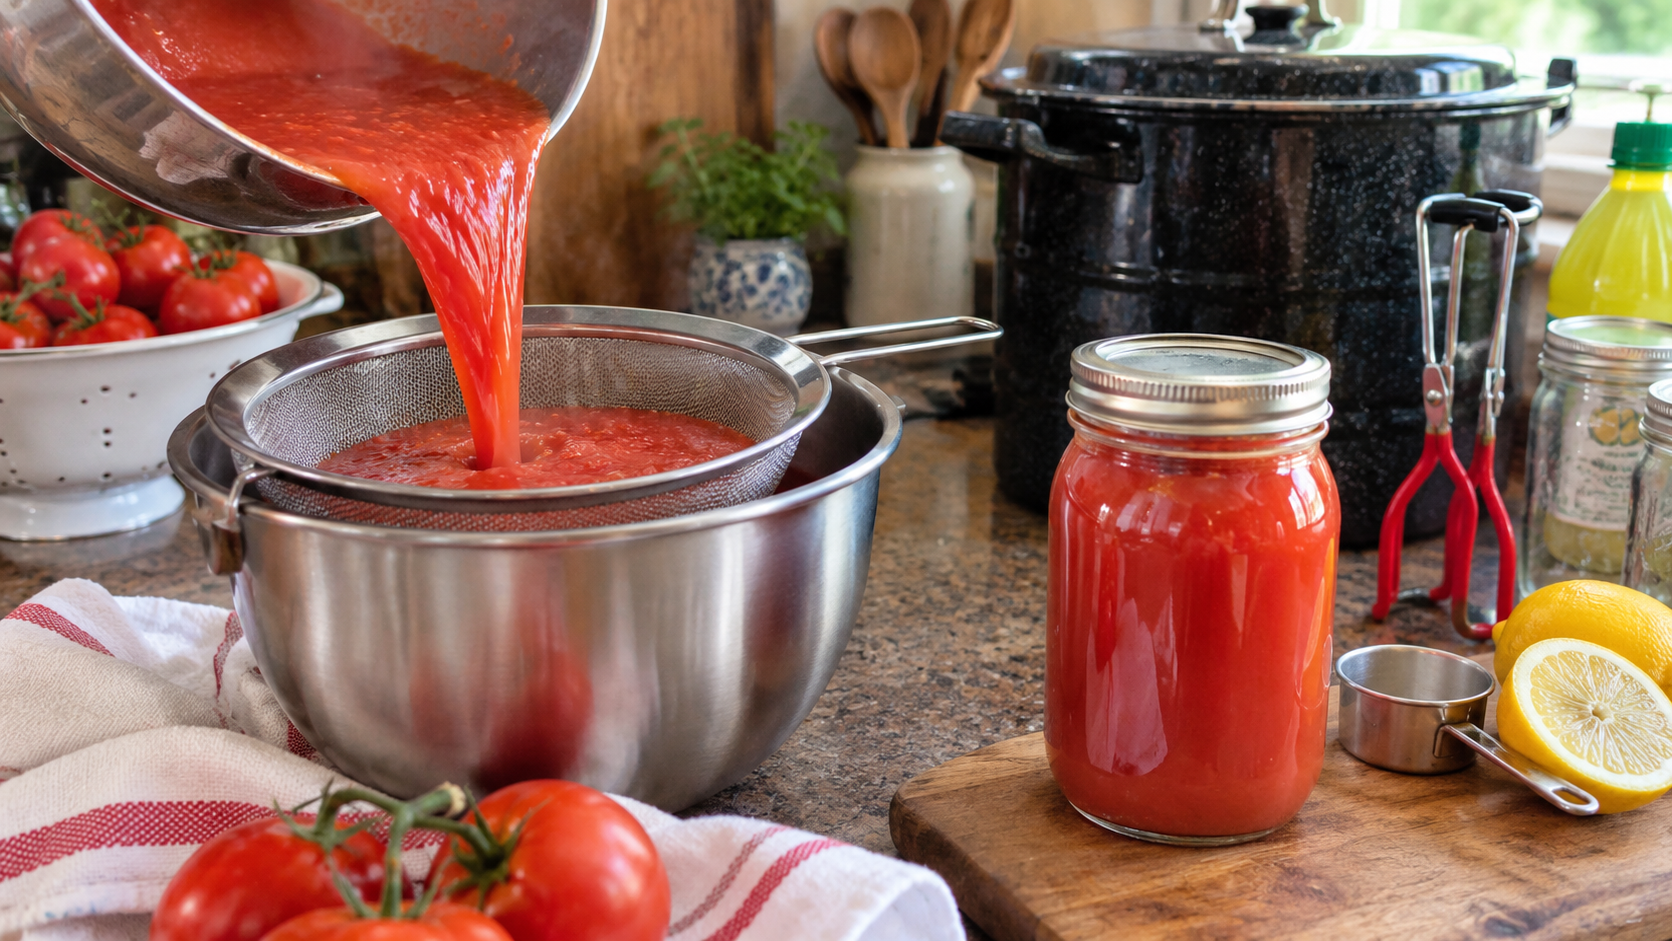
Once I’ve filled my jars of chunky tomatoes, I often have quite a bit of natural tomato juice left in the bottom of the kettle.
For years I mentally classified that as:
Tomato leftovers.
No.
We’ve been underselling it.
That’s homemade tomato juice.
Use plenty of the juice in your canned tomatoes first.
Then, if you still have extra liquid and soft pulp remaining, you can turn it into a separate batch of canned tomato juice.
Can you can the leftover juice from canned tomatoes?
Yes—but for shelf-stable tomato juice, I bring the remaining liquid back in line with the tested tomato-juice preparation.
Here’s what I do:
- Pour or ladle the remaining tomato juice through a fine-mesh sieve.
- Press through soft pulp while leaving seeds and tougher material behind.
- Return the strained juice to the stove.
- Bring it back to a boil.
- Add 2 tablespoons bottled lemon juice OR ½ teaspoon citric acid per quart.
- Add salt if desired.
- Fill hot jars.
- Leave ½-inch headspace.
- Wipe rims.
- Add lids and rings.
- Process according to the tested tomato-juice schedule.
Tomato juice processing times for quart jars
| Elevation | Processing time |
|---|---|
| 0–1,000 feet | 40 minutes |
| 1,001–3,000 feet | 45 minutes |
| 3,001–6,000 feet | 50 minutes |
| Above 6,000 feet | 55 minutes |
So apparently the stuff at the bottom of the pot wasn’t leftovers.
It was a second product waiting for better marketing.
Do you need a food mill to make tomato juice?
No.
I don’t have one either.
A fine-mesh sieve works for separating seeds and tougher material from the juice and soft tomato pulp.
If you’re intentionally making gallons of tomato juice, a food mill may make things faster.
But I’m not buying a new kitchen appliance every time one recipe tells me to.
My cabinets are already accepting applications for overflow storage.
For juice you’re going to refrigerate or freeze, a blender or NutriBullet can also make it smoother.
For shelf-stable canned tomato juice, I still use the sieve so I’m staying as close as possible to the tested process.
Why does homemade tomato juice separate?
Homemade tomato juice may separate into thicker tomato solids and clearer liquid.
That can happen because natural tomato enzymes begin breaking down pectin after the tomatoes are cut.
Heating tomatoes quickly helps minimize separation.
And if mine still separates?
I shake the jar after opening it.
Crisis solved.
We’re making garden tomato juice, not applying for grocery-store shelf placement.
What can you use homemade tomato juice for?
This might be my favorite part.
Homemade canned tomato juice works for:
- Bloody Marys
- Virgin Marys
- Chili
- Vegetable soup
- Stuffed pepper soup
- Taco soup
- Tomato soup
- Spaghetti sauce
- Stews
- Rice
- Casseroles
- Homemade V8-style drinks
- Thinning tomato sauce
- Recipes that call for canned tomato juice
Basically, tomato day can potentially give you:
Jars of tomatoes + jars of tomato juice.
That makes the kitchen cleanup slightly less offensive.
Final quick reference
For hot-packed crushed tomatoes in quart jars:
- Peel and core tomatoes.
- Heat according to the tested hot-pack method.
- Add 2 Tbsp bottled lemon juice or ½ tsp citric acid per quart.
- Fill with hot tomatoes and juice.
- Leave ½-inch headspace.
- Remove air bubbles.
- Wipe rims.
- Add lids and rings finger-tight.
- Load jars into hot canner.
- Cover jars with about 2 inches of water.
- Bring the entire canner to a rolling boil.
- Start timer.
- Process for 45 minutes at 0–1,000 feet, adjusting for elevation.
- Turn off heat.
- Wait 5 minutes.
- Remove jars upright.
- Cool untouched for 12–24 hours.
- Check seals, label and store.
Same tomatoes.
Same family tradition.
Just one updated ending.
And yes, I still wait for the POP.
*We sometimes use affiliate links on our site for items that I use, recommend, and love. The links are free for you to use and it helps support my site by providing a commission for the recommendation. I greatly appreciate you clicking on any recommended links I provide.*
Grab some of my favorite items mentioned in this article:
Check out my Amazon storefront with ALL MY FAVORITE THINGS! >

Or, go directly to my full list of Must Have Canning Tools & Essentials >

Articles You May Also Like:
![Canning Tomatoes Old Fashion Grandma Way [Open Kettle] – My First Time to Now post preview](http://www.amfthings.com/wp-content/uploads/2024/09/Canning-Tomatoes-Old-Fashion-Grandma-Way-Open-Kettle-–-My-First-Time-to-Now-post-preview.png)
Related Recipe: